
– Where do owners of high-end smartphones meet?
– At the power socket.
Sad reality is that most modern devices cannot hold longer than one day, and when used intensively may not last even couple hours. For urban animal with constant access to power source like car charger, mains adapter or USB at laptop, it is not a problem (just get into habit to keep it plugged as long as possible). For travelers there is other option: get extra battery and swap when needed. Some models have battery hardwired, then the extra battery comes in an external form. This is my short photo story from research on couple budget power banks for HTC One X.
I want to be precise: I am surprised by power management of HTC One X: in sleep mode it does not take even 1% of battery overnight with WiFi on, which means with occasional usage one charge lasts easily for 2-3 days, and when I use it for 2-3 hours for emails, social networking, text messages and couple phone calls, I can survive a work day. I wish my car could scale itself with fuel consumption the same way. On the other hand when I am traveling long distances and still want to use it for serious heavy work (like 3d gaming) I might get doomed if I need to make a call at destination. I started looking for backup device in case of power shortage.
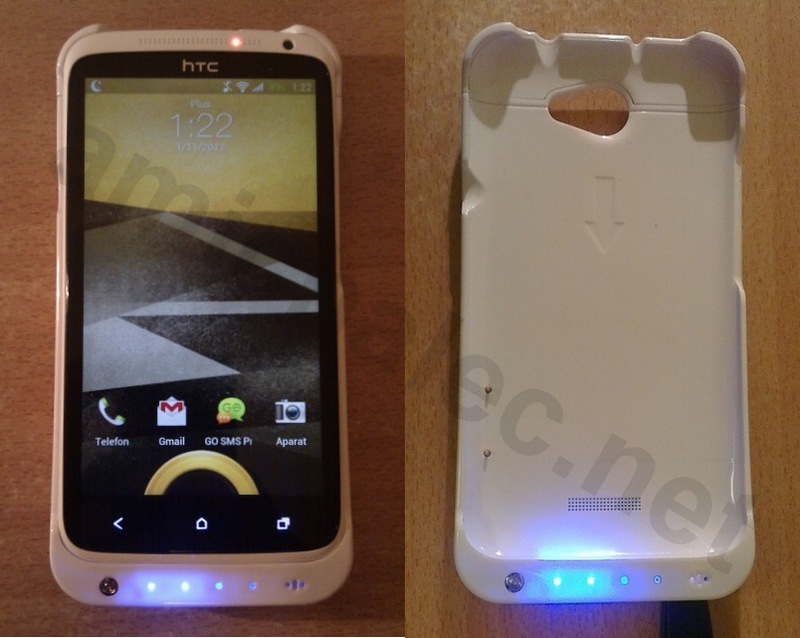
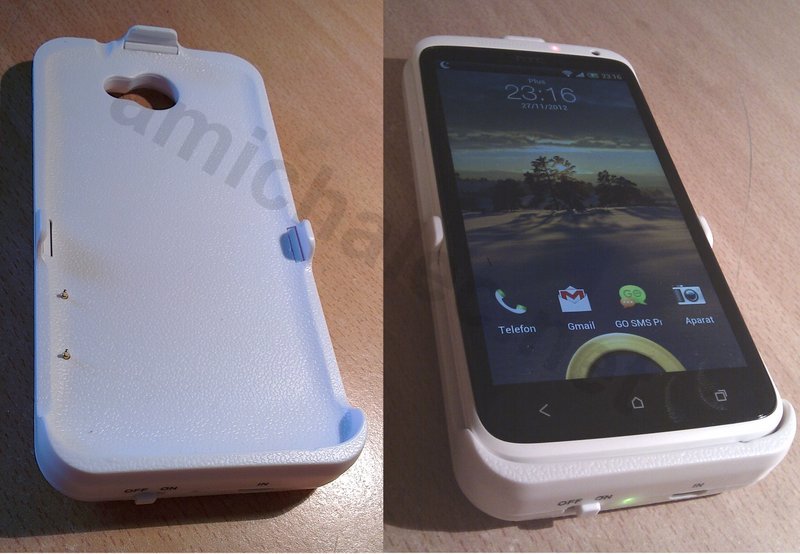
I rejected any external batteries with USB cables that lead to messy net of devices. Fortunately it is easy to find power bank attachable to the phone itself. One X owners are lucky as the micro USB port can be bypassed and charging can happen through the dock interface (five golden spots on back of phone). This way 1800mAh built-in battery can be extended with extra capacity ranging from 2000 to 6000 mAh. The latter is literally a brick attached to thin phone casing so that I targeted 2000-3000mAh power bank as a compromise between extra phone life and thickness.
2200mAh power bank
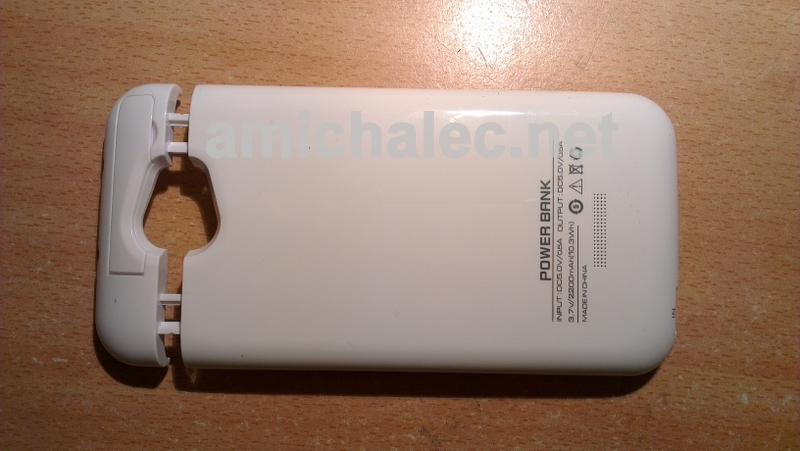
I started with comparison of 2200mAh no-name Chinese “power bank” (model BC57W) with well-recognized 3200mAh Mugen. Both charge One X through pogo pins (dock station connectors), they have intelligent power management and measures battery charge level. Power bank has slicker casing and capacity is more than twice cheaper – it costs around 20 euro ordered from UK (9€ per 1Ah) comparing to Mugen’s 67 euro (21€ per 1Ah). That pushed me to get “power bank”.
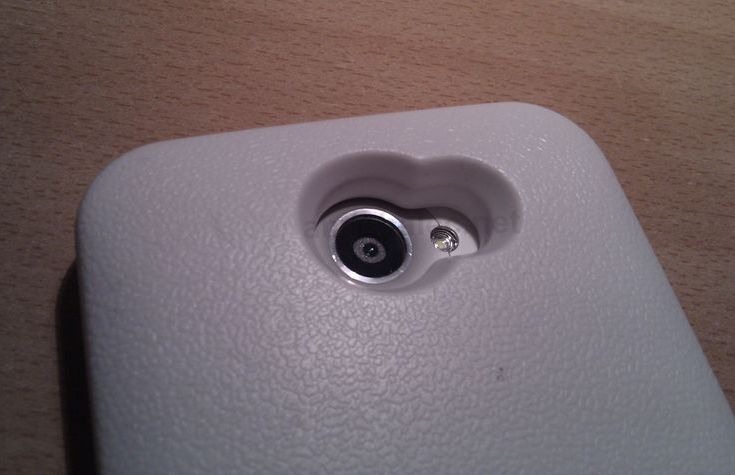
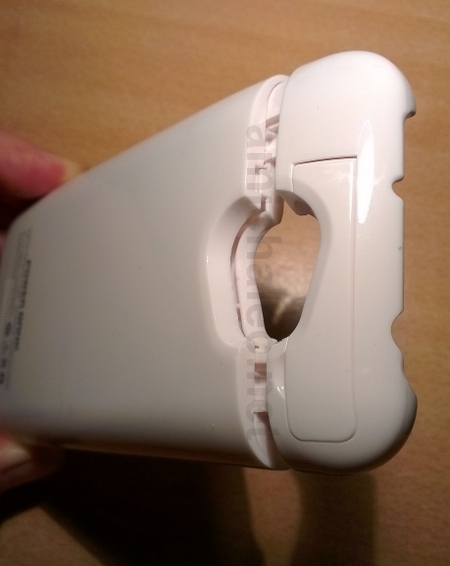
2200mAh power bank is made of nice plastic and wraps phone perfectly shielding its back and corners. All peripherals are accessible: phones’ USB, voice and power buttons, audio jack socket as well as camera. Camera’s flash is not interfered either. Drawbacks pop up when battery is powered on. Charging level four blue LEDs located in front panel are lit all the time power bank is turned on. To make it worse one LED is continuously blinking. All this effectively distracts the user charging the phone while working.

Front
Back
Next disappointment comes as soon as re-charging is measured. Even though 2200mAh is 120% bigger than built-in it could bump up battery level only by 45% (from 20 to 65). Couple charge-discharge cycles on external battery did not help, it was still the same level. Getting back to blackboard and some rough calculations explains why capacity is clever marketing trick:
- Firstly, internal battery is 3.7V while USB/dock charging uses 5V! It means voltage has to be converted. Even modern switching regulators have real efficiency around 90%. Tenth part of energy is lost i.e. we have 1980mAh on output.
- Secondly, output external battery power (Wh) has to remain, on 5V it is 1980*(3.7/5)=1465mAh.
- Thirdly, charging battery is most inefficient part. I measured that 1A/5V charger gives 40% battery charge in one hour. It means that 1000mAh from charger turns into 40% of 1800mAh = 720mAh, only 72% efficiency.
- Combining above steps we have 72% of 1465mAh = 1055mAh which is 58% (1055mAh of 2200mAh) of built-in battery.
-
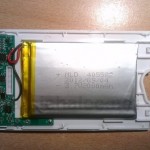
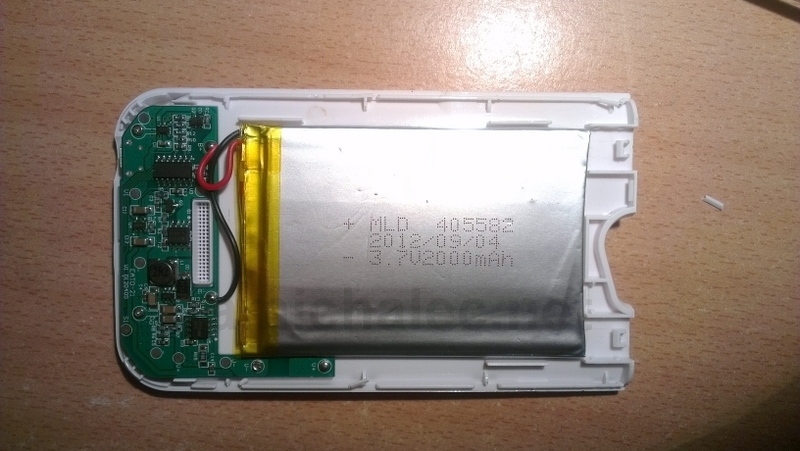
2000mAh. not 2200mAh!
It was only 45% instead of 58% on recharge. Missing percents are due to rough calculation as well as the fact that Chinese cheat – dismantling “power bank” shows it has 2000mAh battery inside, 9% less than offered!
To summarize we have only half of offered capacity if we use external battery to charge built-in, and it is brand independent: Mugen will behave the same 🙂 If you turn on external battery when working on device, energy is used to power up electronics instead of charge battery, so that point (3) applies only partially, boosting up efficiency by 28% at best.
As the rule of the thumb is to use “power bank” when working on device, LEDs flashing straight into ones eyes are simply design flow. I traded that power bank trying to give a chance to less flashy battery pack.
3500mAh battery pack
Second no-name 3500mAh battery pack ordered from Hong Kong was not so nice in terms of quality: matte plastic and uneven finishing was first to catch. I accepted missing corner shields as I plan to use battery only for recharging when traveling: less efficient but advertised 800mA charging current promised faster recharge. Hardware power-on switch and single LED aside was better choice. Recharging was a way too long for offered high-current load: I measured it with current meter and it turned to be 470mA. Also only 80% boost means less than 3000mAh battery. That was only suspicion I could not prove as disassembled case shown no prints on battery. Chinese cheated again. Also due to its thickness I noticed that flash light is obstructed and reflected directly to lens making pictures overexposed. Dissatisfied I packed and traded this battery too.

Unknown real capacity
Thick case on camera

3500mAh case flash obstruction (bottom)
Lastly I decided to stick to 3200mAh power bank, the same case as the 2200mAh first battery. This time I ordered it directly from China for 17 euro only. In reality it has only 3000mAh battery while it still gives around 85% of recharge satisfying my needs. This time I planed to disassemble the case and resolder SMT resistors with higher resistance to make LEDs glowing darkly.
Case opening is quite tricky as all elements are tightly fit. To not break joint points and avoid holes on the edges, plastic pry tools are required (or like in my case guitar plectrum works fine). I started from the slots near the camera window to move along the longer edges opening each stud until reached bottom (USB) side of case. The more careful you proceed the less studs is broken; I did not care that much however since it is one-time operation and later on I glued areas that were not snapped back tightly.
Step one
Step two
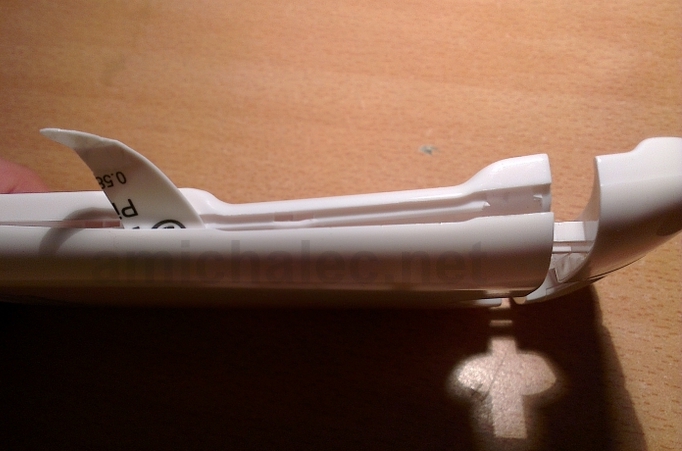
Step three

3000mAh, not 3200mAh

SMT high brightness LEDs
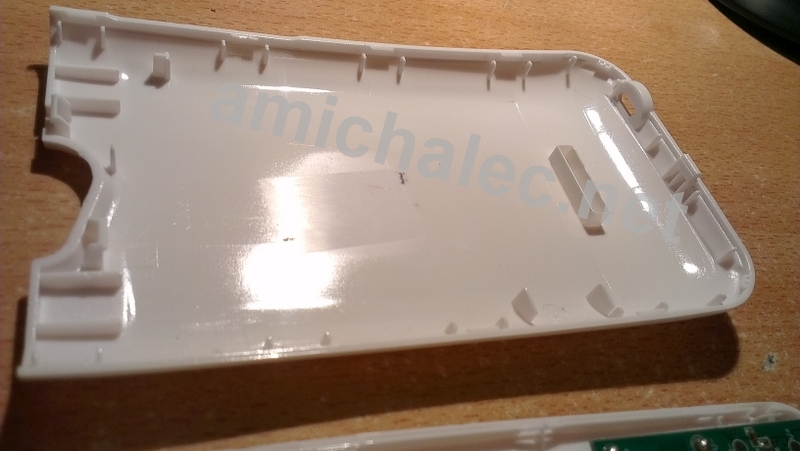
Dozen of studs tightly snapping the case elements


Please could somebody help me. I bought a Power Bank for my HTC One X+. Even though I can charge the Power Bank, when I plug my phone in and switch it on, only the 4 blue LED lights shine. But my phone does not charge. Is there a possible fix for this or is the unit faulty?
Mark. First of all make double check if your PowerBank is for HOX+ as OneX and OneX+ has slightly different placement of dock pads on back, so that battery pins will not touch pads if this is PowerBank for OneX (without plus).
If PowerBank matches your phone you may have case I faced some time ago with two out of dozen imported batteries. Check if two gold pins have 5 volt when battery is turned on, if not chances are cable is broken inside. In my case after opening I saw one cable dangling loosely; cable was probably exposed to vibrations (airplane?) and mechanically torn off the soldering spot. After resolder it worked fine.
The other issue I had was misplaced gold pin: it was soldered too low so there was no physical connection when HOX placed in battery. I needed to resolder whole pogo-pin (be careful not to touch moving part with solder iron, if it catches tin pogo-pin is screwed as stops moving and must be replaced completely).
It may be easier to return faulty unit and ask for replacement. Be warned if you want open the case: you probably will bend plastic edges a bit leaving slight marks, especially opening it first time; there is no warranty stickers but marks are evidence of opening and seller will deny retur/replacement.